- COMPOSITION NOTEBOOK
- Customization
- How to Create DIY Covers for Your Journals and Planners
How to Create DIY Covers for Your Journals and Planners
- Category: Customization
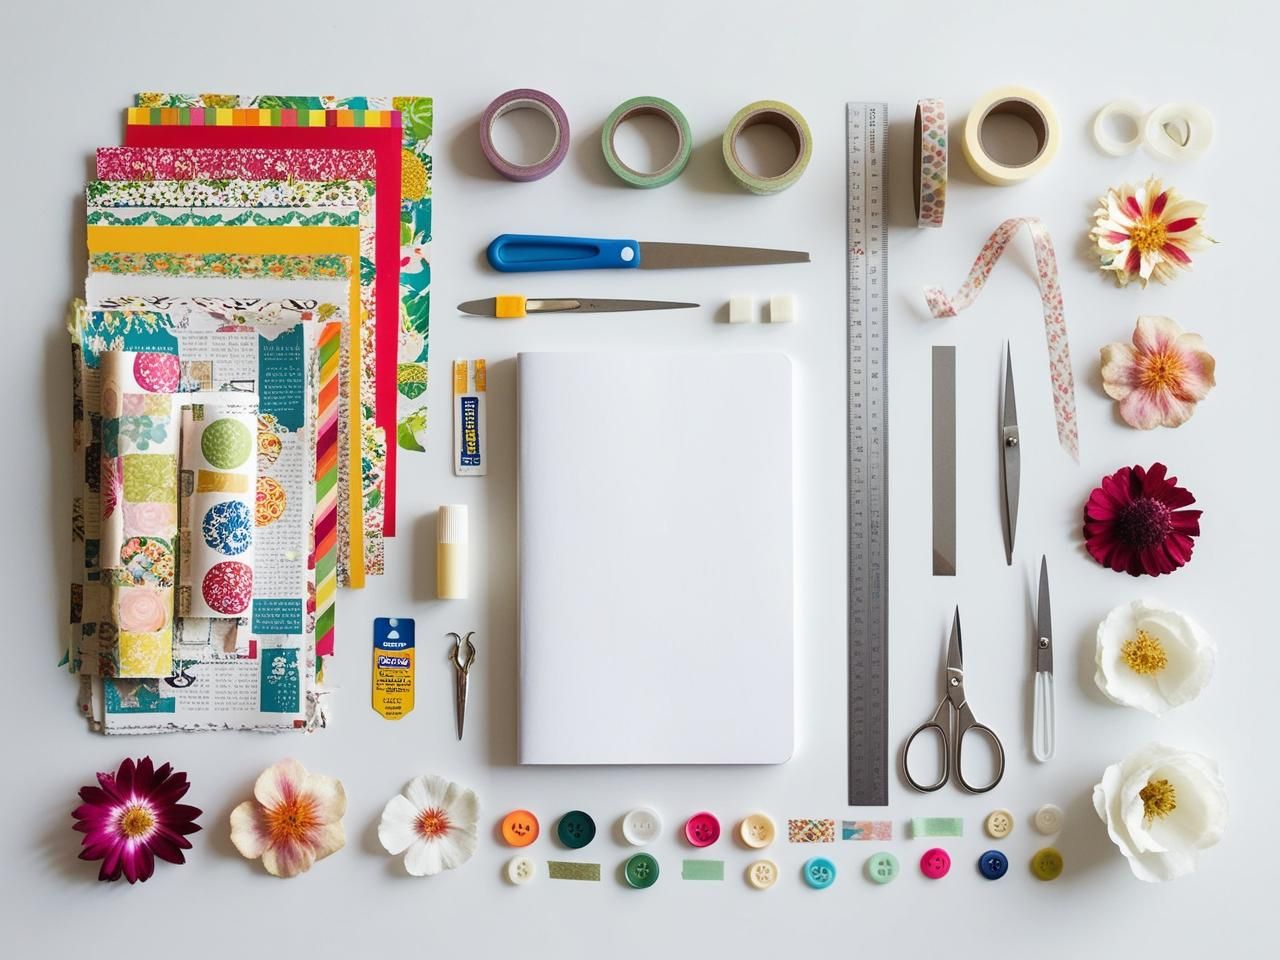
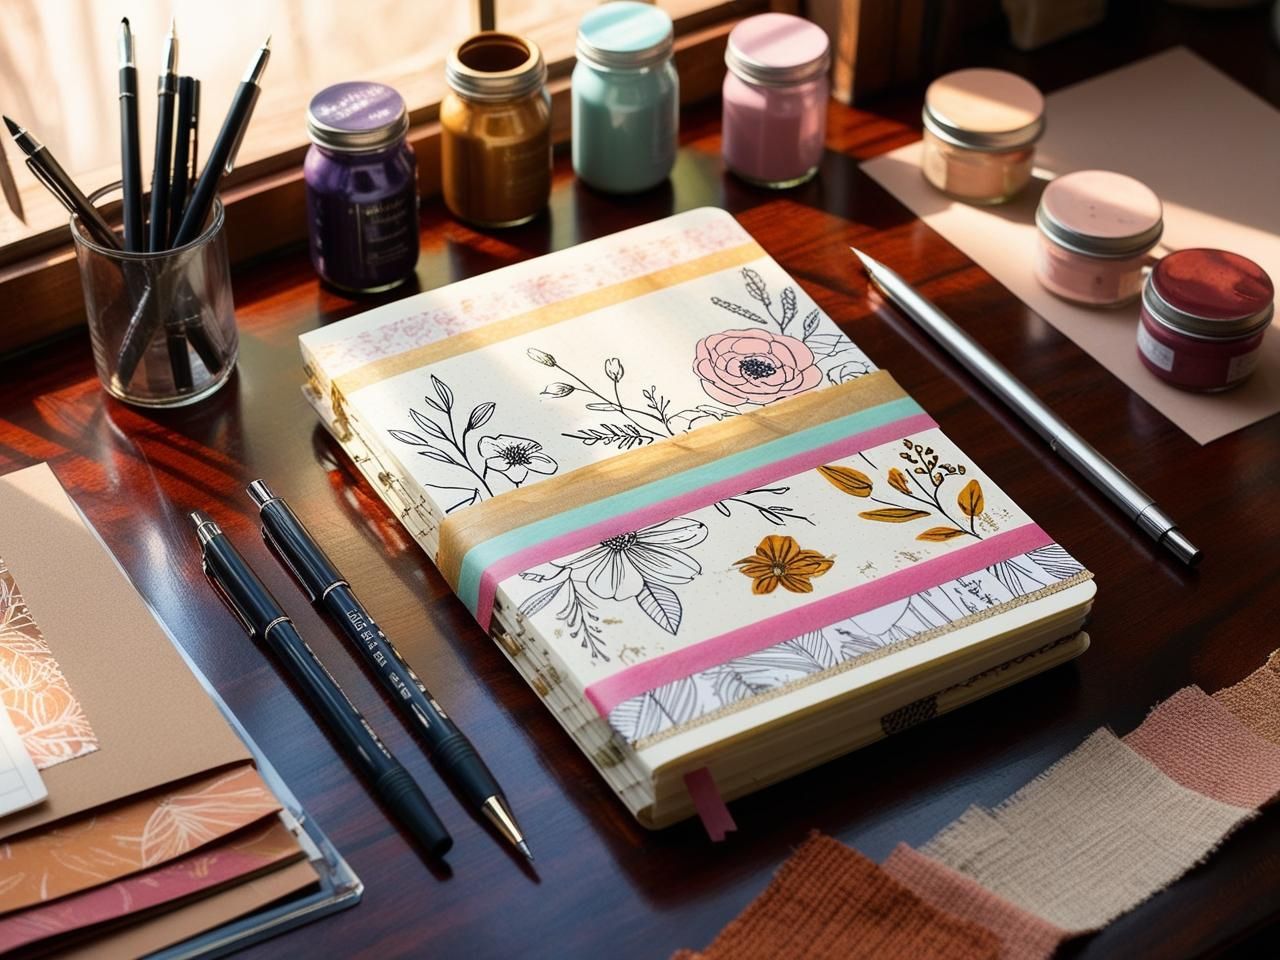
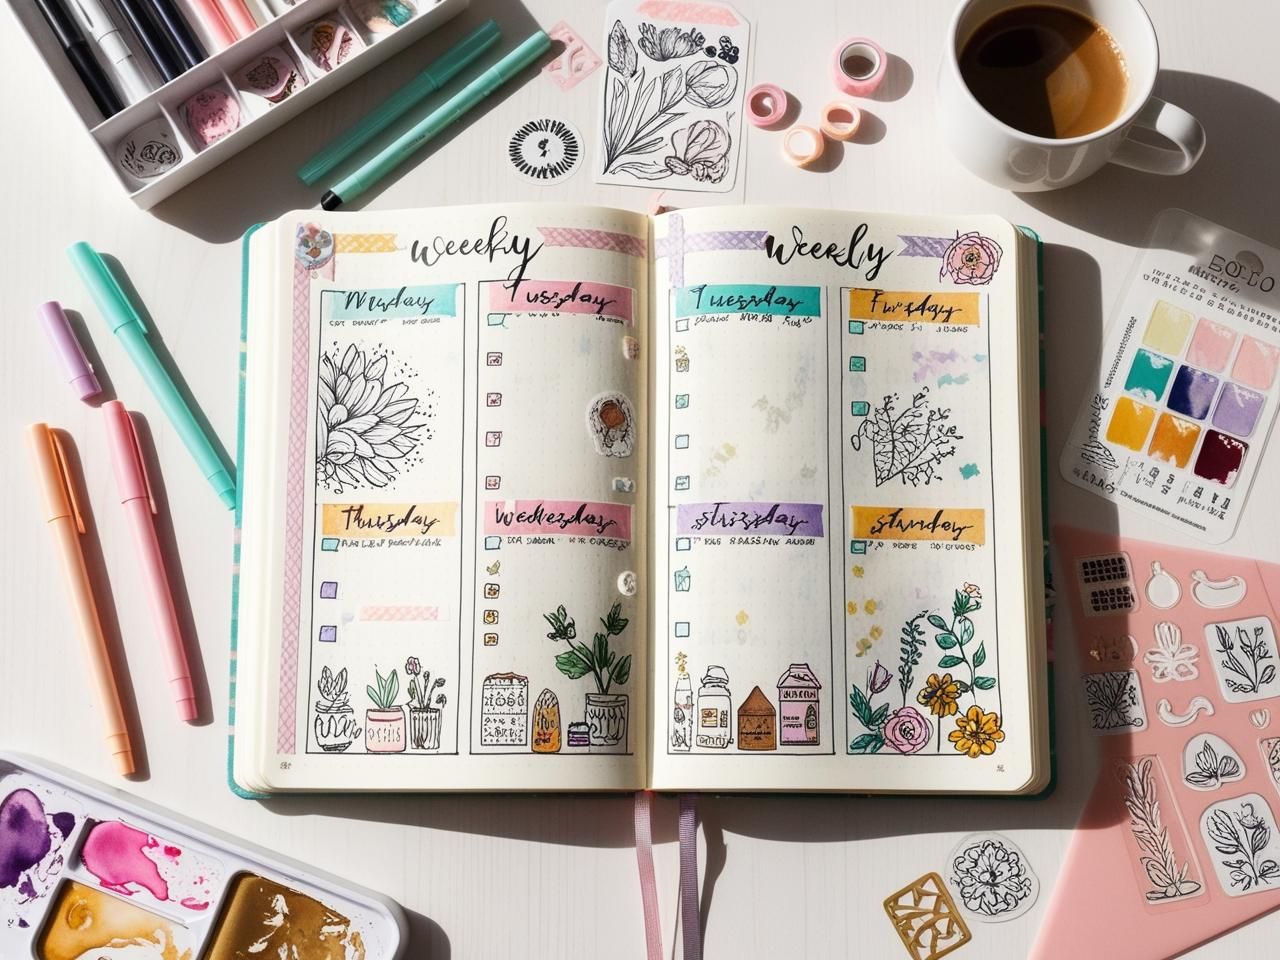
Your journal or planner is more than just a tool, it’s a reflection of your personality and creativity. Personalizing its cover is a fun and rewarding project that transforms an ordinary item into something uniquely yours. In this guide, we’ll explore easy DIY techniques to create stunning covers for your journals and planners, using materials you likely already have at home.
Table of Contents
Toggle1. Introduction to DIY Covers
Customizing your journal or planner cover has several benefits, including:
• Boosting Motivation: A personalized cover can inspire you to use your journal or planner more regularly.
• Expressing Creativity: Designing your own cover is an outlet for self-expression.
• Adding a Personal Touch: A customized cover makes your stationery unique and tailored to your style.
Whether you prefer vibrant colors, floral designs, or a retro vibe, creating a DIY cover allows you to match your journal to your personality and goals.
2. Materials Needed
To get started, gather the following supplies. Most of these are readily available at home or in craft stores:
• Decorative Paper: Scrapbook paper, wrapping paper, or old magazines.
• Adhesives: Glue sticks, double-sided tape, or spray adhesive.
• Scissors or Craft Knife: For precise cutting.
• Ruler: To measure and align your designs.
• Embellishments: Stickers, wash tape, ribbons, buttons, or pressed flowers.
• Protective Layers: Clear contact paper or laminating sheets for durability.

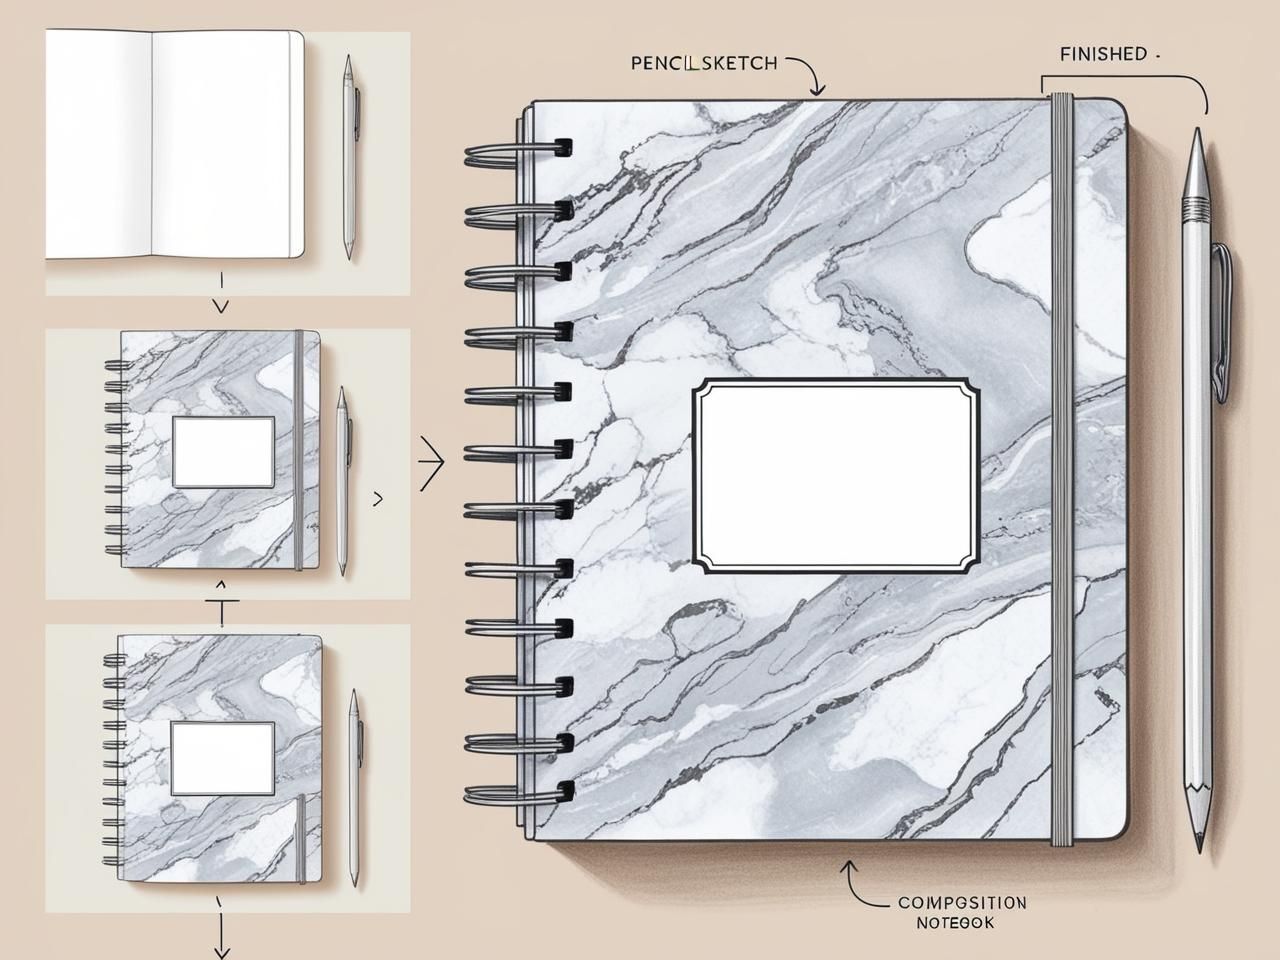
3. Step-by-Step Instructions
Follow these steps to create your DIY journal or planner cover:
Step 1: Prepare Your Base
• Remove any existing cover if it’s detachable or prepare to layer on top of the existing one.
• Clean the surface to ensure your adhesive sticks properly.
Step 2: Choose Your Design
• Pick a theme for your cover. Options include:
• Floral Designs: Use botanical prints or press flowers onto the cover.
• Vibrant Colors: Combine bright papers, geometric patterns, or tie-dye effects.
• Retro Style: Incorporate vintage ads, polaroid photos, or old postcards.

Step 3: Cut and Attach Materials
• Measure your journal’s cover dimensions and cut your decorative paper slightly larger to allow for folding over the edges.
• Use adhesive to attach the decorative paper, smoothing out air bubbles as you go.
Step 4: Add Embellishments
• Layer washi tape, ribbons, or stickers for added texture and detail.
• Secure embellishments with strong glue to ensure they stay in place.
Step 5: Protect Your Design
• Cover the finished design with clear contact paper or laminating sheets to shield it from wear and tear.

4. Creative Ideas for All Seasons
Make your DIY cover seasonal by incorporating specific themes:
• Spring: Use pastel colors, pressed flowers, or butterfly motifs.
• Halloween: Include dark colors, spider web patterns, or pumpkin decals.
• Winter: Opt for snowflake patterns, metallic tones, or cozy plaids.
Seasonal covers can be refreshed throughout the year to keep your journal looking fresh and inspiring.
5. Tips for Durability
To ensure your customized cover lasts, follow these tips:
• Reinforce Edges: Use washi tape or adhesive strips to secure the edges of your cover.
• Add a Protective Layer: Laminate your cover or apply clear contact paper to make it resistant to spills and scratches.
• Avoid Heavy Embellishments: Use flat decorations like stickers or paper cutouts to prevent wear and tear during daily use.
Creating DIY covers for your journals and planners is a simple and enjoyable way to add personality and flair to your stationery. With just a few materials and some creativity, you can design covers that reflect your unique style while ensuring durability and functionality. Get started today and transform your journals into works of art!
FAQs
Yes! Simply create a custom cover on cardstock or paper, punch holes in the design, and attach it to the spiral binding.
Using clear contact paper or laminating sheets ensures your design stays intact and resists damage over time.
Absolutely! Try repurposing old magazines, newspapers, or fabric scraps for a sustainable approach to customization.
RELATED POST
Composition Notebook by Pieffeweb | Cookie Policy | Privacy Policy | Disclaimer
