- COMPOSITION NOTEBOOK
- Customization
- How to Personalize Your Black Marble Composition Notebook
How to Personalize Your Black Marble Composition Notebook
- Category: Customization
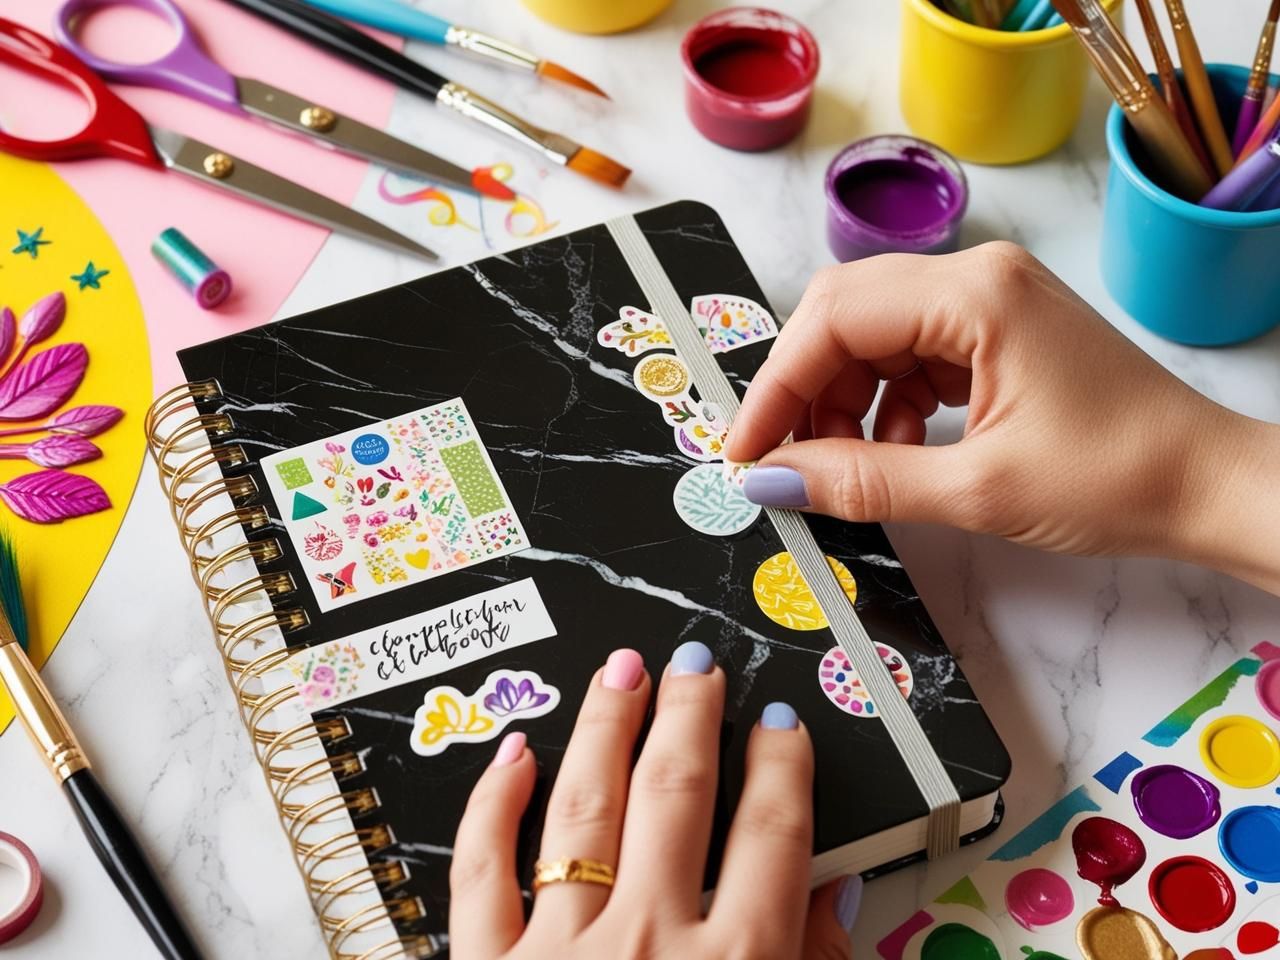
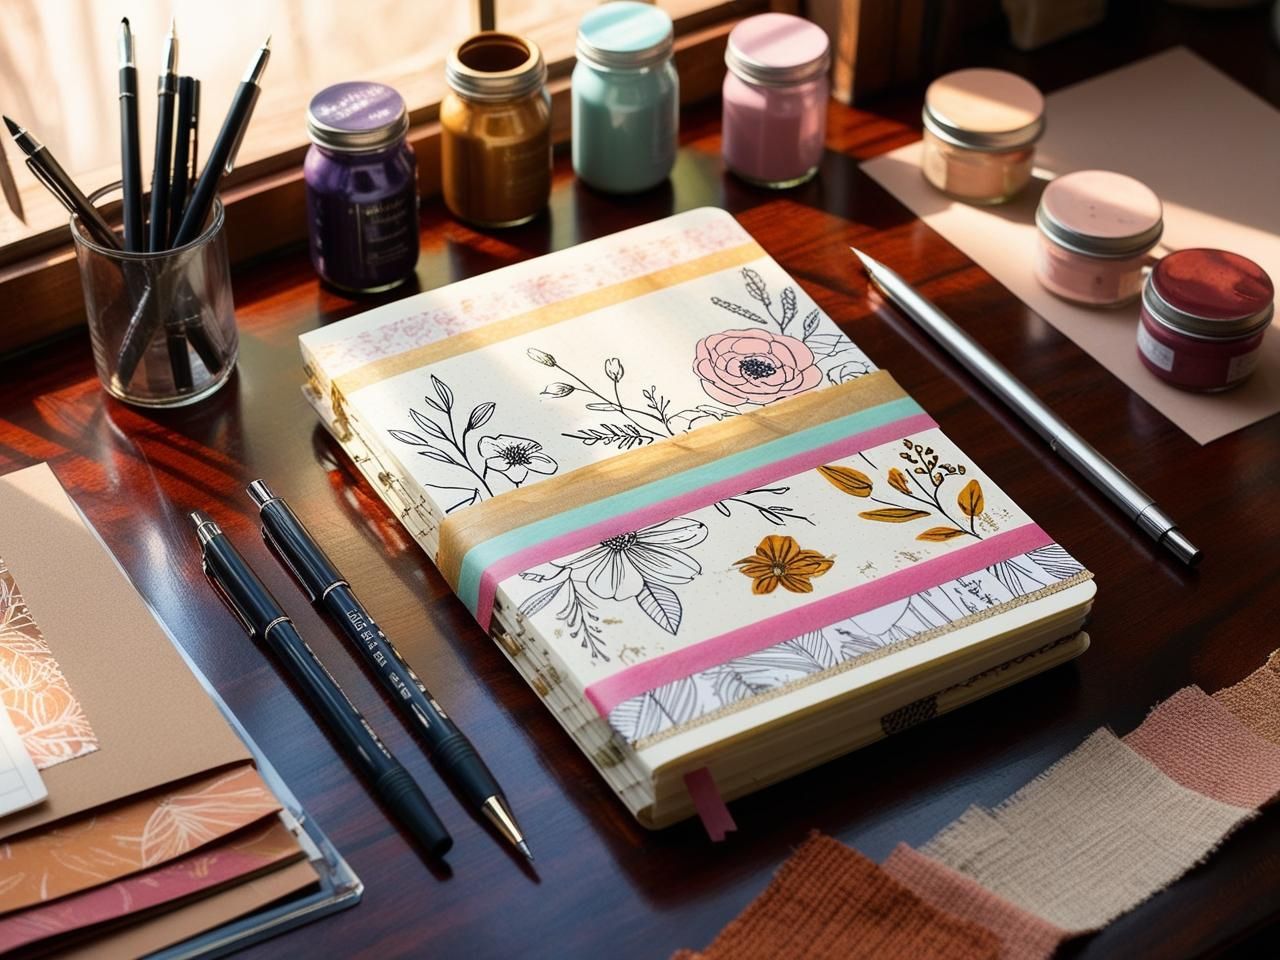
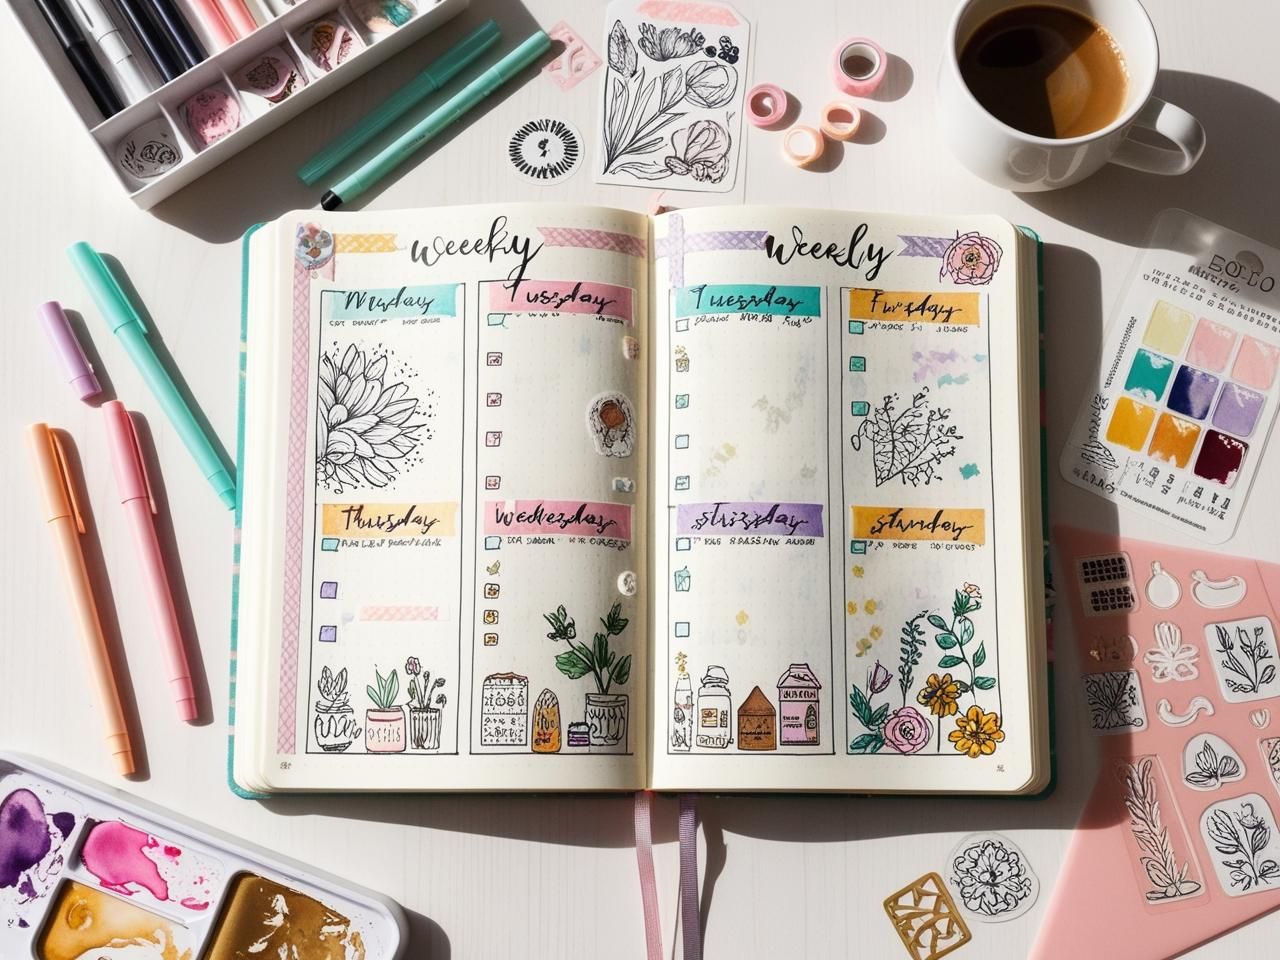
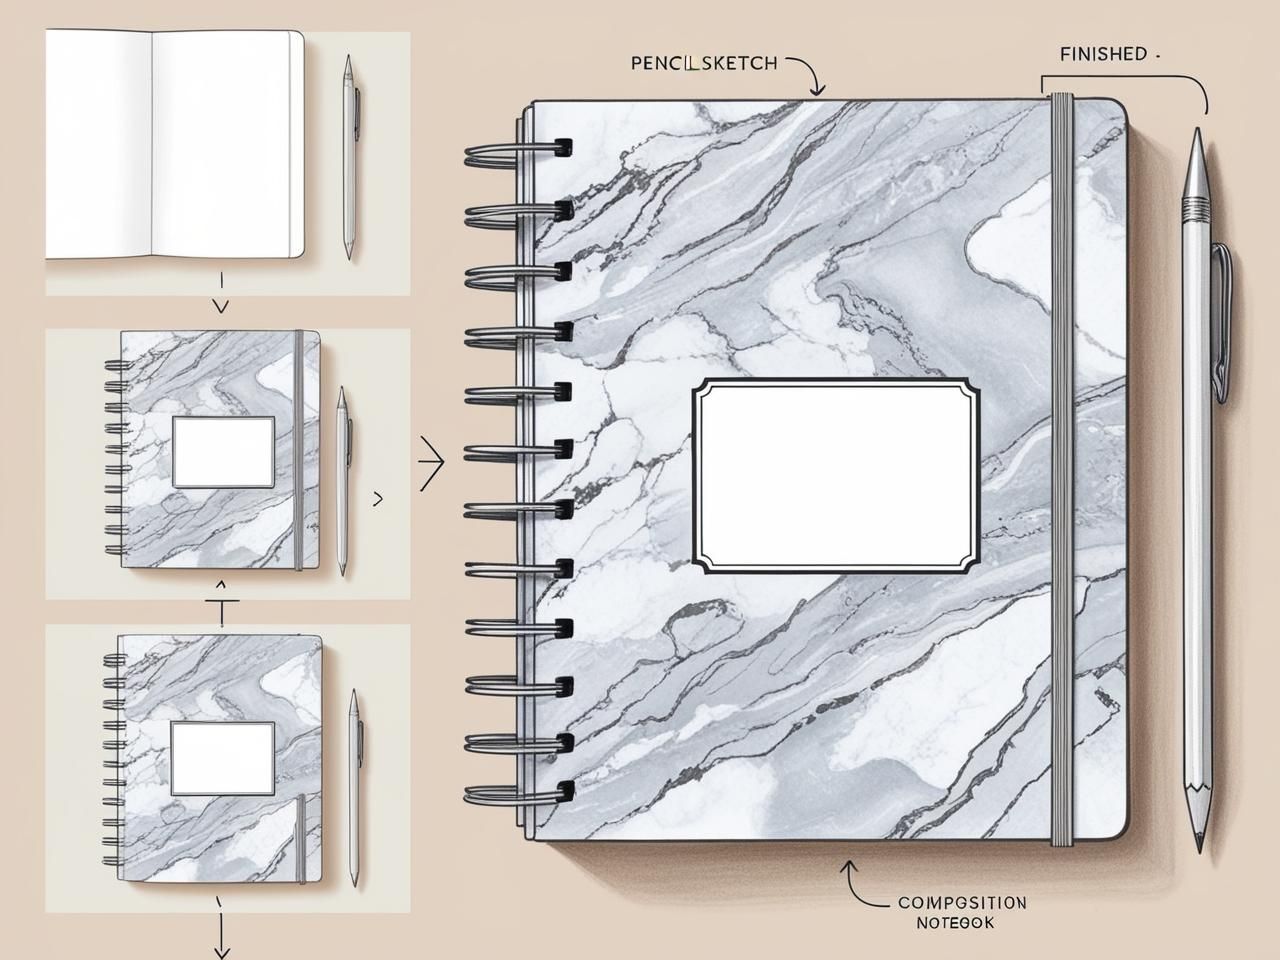
This step-by-step guide provides clear instructions on how to personalize your Black Marble Composition Notebook, transforming it into a unique reflection of your style. From choosing decorative elements like stickers and washi tape to customizing the cover with paint or markers, the guide covers various creative techniques. By following these simple steps, you’ll learn how to add your personal touch, making your notebook not only functional but also a true expression of yourself. Whether for school, work, or journaling, your personalized notebook will surely stand out.


Table of Contents
Toggle1. Gather Your Materials
Gather all necessary supplies for personalization. Include items such as:
- Stickers: Choose a variety of designs to match your theme.
- Washi tape: Select different widths and patterns for added flair.
- Markers: Get an assortment of colors for vibrant writing and drawing.
- Paints: Opt for acrylic or watercolor paints to enhance your designs.
Ensure everything is organized and easily accessible. Lay out your materials on a clean workspace. This preparation will streamline your creative process and allow for a more enjoyable experience.
2. Clean the Surface
Wipe down the cover of the notebook using a soft cloth, focusing on areas with visible dust or fingerprints. Use gentle, circular motions to thoroughly clean the surface, ensuring you reach the edges and crevices. Dampen the cloth slightly with water, if necessary, but avoid soaking it, as too much moisture can damage the cover. After cleaning, allow the notebook to air dry completely to ensure your decorations adhere properly without any interference from residue or moisture.
3. Plan Your Design
Sketch your design ideas on paper before applying them to the notebook. Consider various themes that resonate with your personality or project goals. Choose a color palette that complements your ideas and enhances the overall aesthetic. Plan the layout, ensuring elements are balanced and contribute to a cohesive look.
4. Add Stickers and Washi Tape
Begin applying stickers and washi tape according to your planned design. Position the stickers in a way that complements your layout, ensuring they don’t overcrowd the space. Experiment with layering by placing smaller stickers on top of larger ones, and intertwine washi tape around the edges or across the page for added interest. Vary colors and patterns to create a lively, dynamic appearance, and don’t hesitate to reposition elements until you achieve the desired look.
5. Use Markers or Paint
Incorporate illustrations by sketching simple designs or characters that resonate with the theme of your notebook. Use quotes that inspire you, writing them in creative fonts or styles, and surround them with decorative doodles that enhance the overall look. Select markers or paint with ink specifically designed for your notebook’s cover material to ensure durability and prevent smudging. Experiment with colors and layering techniques to bring depth to your artwork, making it uniquely yours.
6. Incorporate Personal Photos
Select a few favorite personal photos that resonate with you, such as snapshots from a memorable vacation or candid moments with friends and family. Print these photos in a small size that fits comfortably on your notebook cover. Carefully trim any excess paper around the images, then use a glue stick or double-sided tape to adhere them to the cover. Arrange them creatively, ensuring they complement each other, and allow them to reflect your personality and interests.

7. Seal Your Work
Apply a clear sealant evenly over your designs using a brush or spray can for best results. Ensure the surface is clean and dry before starting, as this will help the sealant adhere properly. Allow the sealant to dry completely according to the manufacturer’s instructions, and consider applying multiple coats for added protection. Check for any missed spots and touch them up to keep your personalization looking fresh and intact.
8. Create a Custom Label
Design a label that reflects your personality or interests by choosing a catchy title or simply your name. Utilize design software or online tools like Canva or Adobe Spark to create a striking layout. Incorporate colors, fonts, and images that resonate with you; for example, if you love nature, you might use green tones and leaf motifs. Print the label on high-quality adhesive paper or cardstock for durability and clear visibility.
Attach the completed label prominently on the front or the spine of your notebook for easy identification. Ensure it is centered and adhered smoothly to avoid wrinkles or bubbles. If you’re using a spiral or bound notebook, consider placing it on the spine for a sleek look that stands out on a shelf. Make sure it’s legible from a distance so others can recognize it quickly.
9. Add Functional Elements
Incorporate a pocket on the inside cover for loose papers or sticky notes. Choose a sturdy material, such as cardstock or a thin plastic sheet, and cut it to a size that fits the cover perfectly. Use double-sided tape to secure the edges, ensuring it holds papers or notes without sagging. For added convenience, consider labeling the pocket for specific purposes, like “Ideas” or “Reminders,” to keep your notes organized and easily accessible.
10. Show It Off!
Showcase your personalized notebook by snapping a photo and posting it on social media. Use relevant hashtags to connect with others who share your interests and to inspire your friends. Encourage your peers to share their own creations by tagging them in your posts. Celebrate your unique design by sharing your experience and the process you went through to make it special.
Your Custom Notebook Awaits
In conclusion, personalizing your Black Marble Composition Notebook is an enjoyable way to express your individuality and creativity. By incorporating unique designs, colors, and embellishments, you can transform a standard notebook into a distinctive representation of yourself. Embrace the process and take pride in your customized creation—your newly decorated notebook is sure to inspire your thoughts and ideas!
Essential Supplies Needed
- Black marble composition notebook
- Craft scissors
- Adhesive glue or glue stick
- Stickers
- Washi tape
- Markers or paint (acrylic or permanent)
- Personal photos (printed)
- Clear sealant spray or Mod Podge
- Label maker or label paper
- Ruler
- Craft knife
- Decorative paper (optional)
- Paintbrushes (if using paint)
- Craft sponge (for sponging techniques)
- Pencil (for planning designs)

Creative Customization Ideas
- Choose a Color Scheme: Select a color palette that complements the black marble design for a cohesive look
- Use Stickers: Add fun and inspiring stickers that reflect your personality or interests
- Create a Cover Collage: Print and cut out images or quotes that resonate with you, then arrange them on the cover
- Decorate with Washi Tape: Apply colorful washi tape along the edges or in patterns for a stylish accent
- Add Your Name: Use decorative lettering or a vinyl decal to personalize your name or initials
- Incorporate DIY Artwork: Create your own artwork or doodles to showcase your creativity on the cover
- Use Bookmarks: Attach a custom-made or themed bookmark that hangs out the top for easy access
- Install a Clear Pocket: Add a plastic pocket to the inside cover for storing notes, stickers, or small keepsakes
- Embellish with Ribbons: Attach a decorative ribbon or tassel to the spine for an eye-catching detail
- Personalize Tabs: Use colorful tabs for easy navigation, labeling sections according to your needs
Maximize Your Creativity and Organization with the Black Marble Composition Notebook
- Organize Your Sections: Divide your notebook into sections using tabs or by leaving blank pages. This helps keep notes organized for different subjects or projects
- Use Clear Headings: Start each new topic or section with a clear heading. This makes it easier to find information later
- Incorporate Bullet Points and Lists: Use bullet points or numbered lists for key ideas, which makes your notes more concise and easier to review
- Date Your Entries: Write the date at the top of each page so you can track your progress and easily reference material
- Personalize Your Notes: Add doodles, stickers, or color-coded highlights to make your notes visually appealing and to help with memory retention
Everything You Need to Know About Your Black Marble Composition Notebook
How do you properly care for and maintain a Black Marble Composition Notebook?
To properly care for and maintain a Black Marble Composition Notebook, follow these guidelines:
- Keep it Dry: Avoid exposing the notebook to moisture or water. If it does get wet, dry it immediately to prevent damage to the paper and cover.
- Store Safely: Store the notebook in a cool, dry place, away from direct sunlight and extreme temperatures, which can warp the cover or damage the pages.
- Avoid Overfilling: If you’re using the notebook for multiple subjects or purposes, try not to overload it with papers or other items that might cause it to bulge or lose its shape.
- Handle with Care: When writing, be gentle. Avoid pressing too hard on the pages to prevent tearing or crumpling, especially if you use ink.
- Keep It Clean: If the cover becomes dirty, wipe it gently with a soft, dry cloth. Avoid using cleaning products that may damage the surface.
- Use Proper Writing Tools: Choose pens or pencils that are suitable for the paper of the notebook. Some inks may bleed through the pages, causing issues with legibility.
- Reinforce Spines if Needed: If the notebook begins to show wear, consider reinforcing the spine with tape to prevent it from falling apart.
- Regular Review: Periodically check the notebook for any loose pages or wear. Addressing issues early will help prolong its lifespan.
By following these steps, you can keep your Black Marble Composition Notebook in good condition for a long time.
What are some creative ways to repurpose a used Black Marble Composition Notebook?
There are several creative ways to repurpose a used Black Marble Composition Notebook:
- Journaling or Daily Logging: If the pages are still usable, you can turn the notebook into a personal journal or a daily log for thoughts, ideas, or experiences.
- Art Sketchbook: Use the blank pages for sketching or doodling. It’s an excellent way to practice drawing without the need for a new sketchbook.
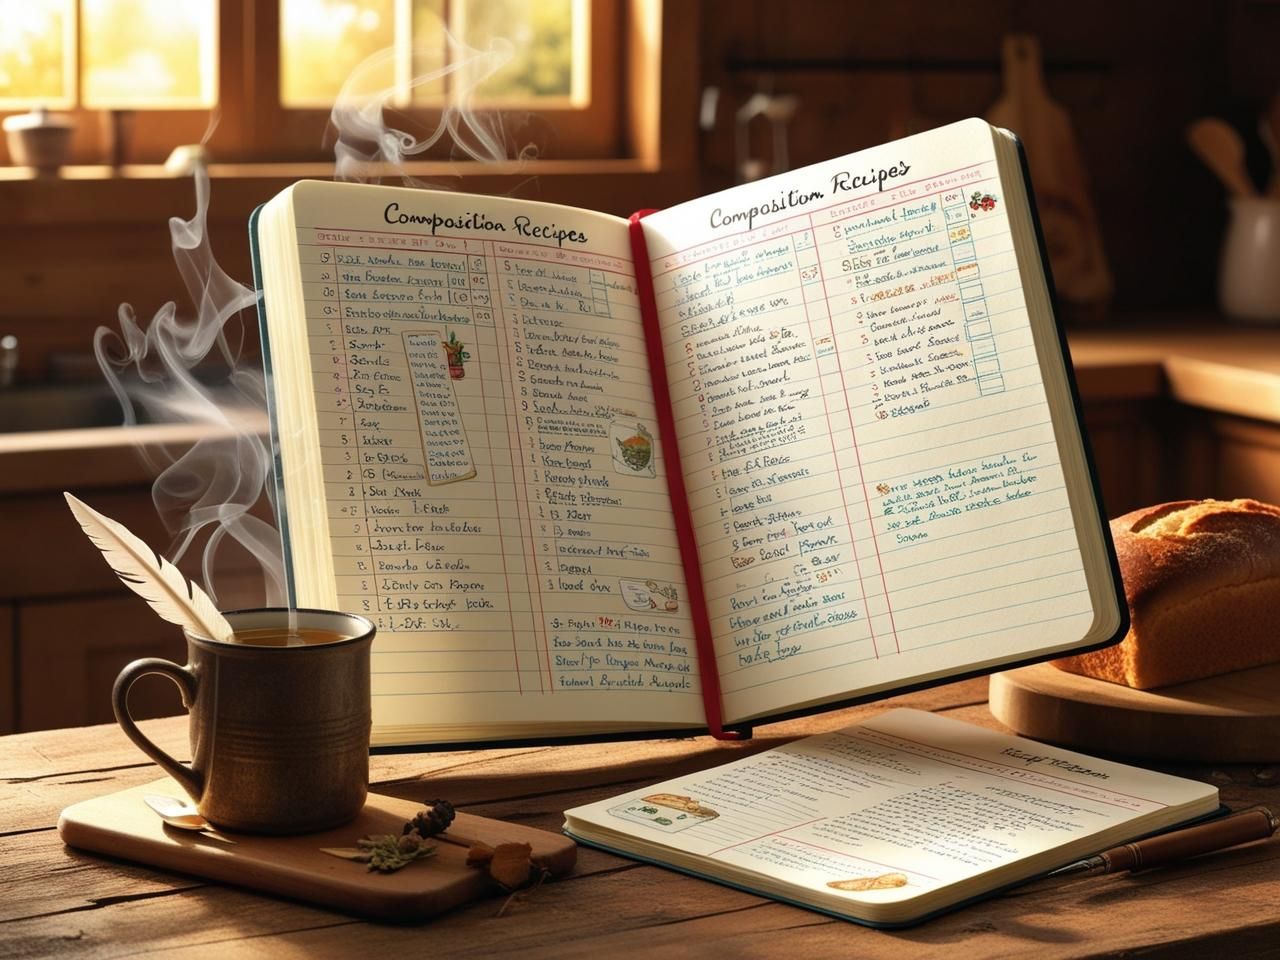
- Recipe Book: Dedicate the notebook to handwritten recipes. You can jot down favorite meals, experiment with new dishes, or keep a shopping list.
- Brainstorming Tool: Use it as a brainstorming notebook for work or projects, allowing you to jot down ideas and plans without the distractions of digital devices.
- Seed Journal: For gardening enthusiasts, repurpose it into a seed journal, where you can document planting dates, growth progress, and garden layouts.
- Gratitude Journal: Transform it into a gratitude journal by writing down things you’re thankful for, helping to cultivate a positive mindset.
- Creative Writing: Use it for poetry, short stories, or any form of creative writing. Having a designated space can encourage you to write more.
- Memory Scrapbook: Add photos or mementos to the pages along with notes and captions, creating a scrapbook of memories without the need to buy expensive materials.
- Teaching Aid: If you’re an educator, consider using it for lesson planning or as a notebook for student observations and notes.
- Gift Wrap or Craft Material: If the pages are too worn for writing, use the cover or pages for craft projects, such as gift wrapping or decoupage.
These ideas not only help reduce waste but also encourage creativity and organization in various aspects of life.
RELATED POST
Composition Notebook by Pieffeweb | Cookie Policy | Privacy Policy | Disclaimer
